In the model home that we walked through prior to buying our house there were curtains...gorgeous curtains...that reached floor to ceiling.
Eighteen feet to be exact...
Engineering Man and I loved the look it gave the living room. And we wanted to recreate it, in our color scheme, and cheaper than what it would cost to custom make the curtains.
First I looked for curtains to buy...hahahaha...there were none to be found...not at 18 feet.
Then I started looking for fabric...and tried to get Brother on board.
For those of you that don't sew...Brother is my sewing machine...the last time I worked with him...well, let's just say we didn't exactly get along...
(and yes, that's why the boys got new pajama pants last week. I was working out the kinks...)
After Brother got on board, I bucked up and started cutting.
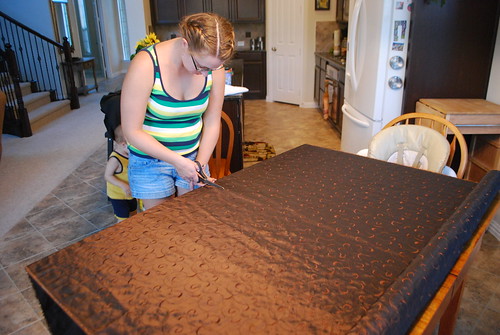
The 60" piece of fabric I cut in half vertically, and then in half again horizontally. Basically into quarters. Each of these quarters than became a curtain panel.
I then took an iron and ironed a 3/4 inch seam on three edges of each panel.
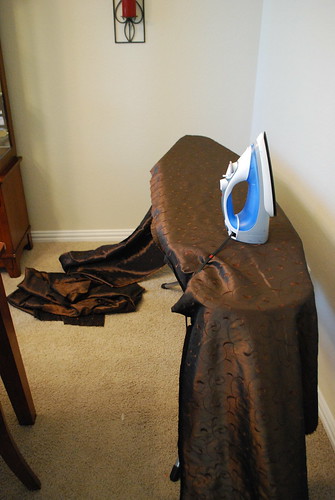
I then started sewing, basically hemming three sides of each curtain panel. I didn't do the bottom of the curtain because I wanted to hem each one in place. It's just slightly easier to hem from the bottom up than from the top down when dealing with curtains so long. I have mentioned they're 18 feet, haven't I??
I, of course, forgot to take a picture of the next part, but along the top of each panel, I created a pocket by turning under the top seam another 5 1/4 inches, and sewing/tacking the pocket into place. I picked this number by using the size of the finial on the end of the curtain rod.
And...done. Well, except for Engineering Man having to go 20 feet in the air at midnight.
The next day I sat on the floor, measured against the wall, and hemmed the bottom of the curtains. Running a sewing machine foot pedal is not easy while sitting on the floor, but well worth it in the end.
Then I turned to the pillows.With the leftover material cut from the bottom, I cut two squares the same size.
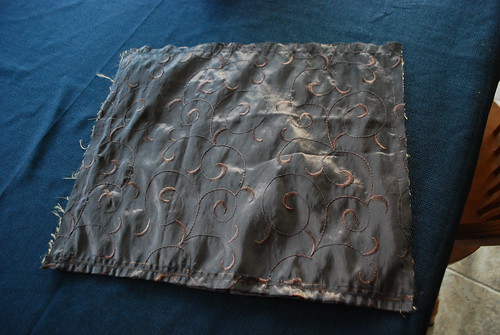
I turned the right sides together, and sewed them together all the way around the squares, leaving a small hole in the middle of one side.
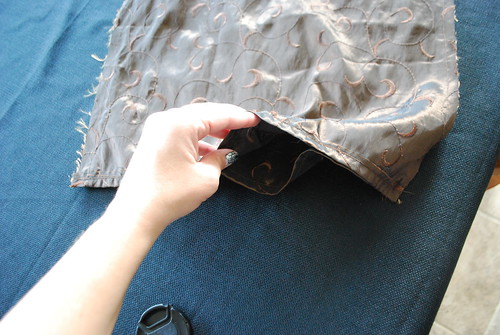
I then turned the pillow inside out, so the right sides of the fabric were facing out, and stuffed the pillow.
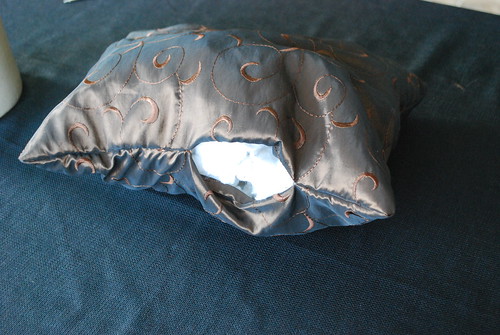
Then, using a running stitch, I finished off the hole.
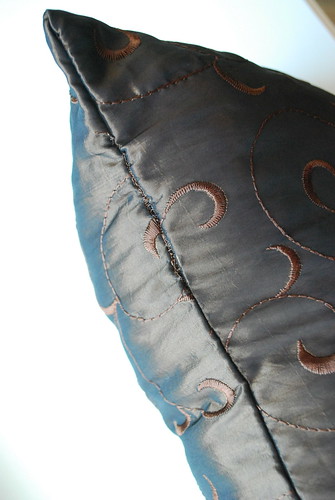
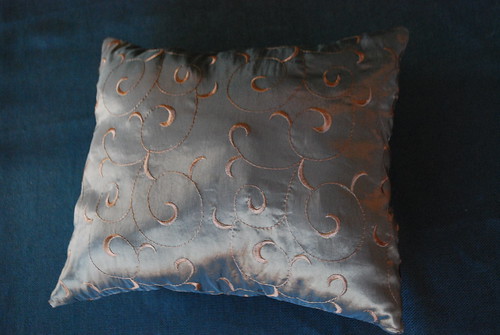
Voila! Pillow...
And now I'm off to Pinterest to find new pillow patterns...Brother and I have a date.


No Response to "DIY of the week...curtains and pillows..."
Add Your Comment